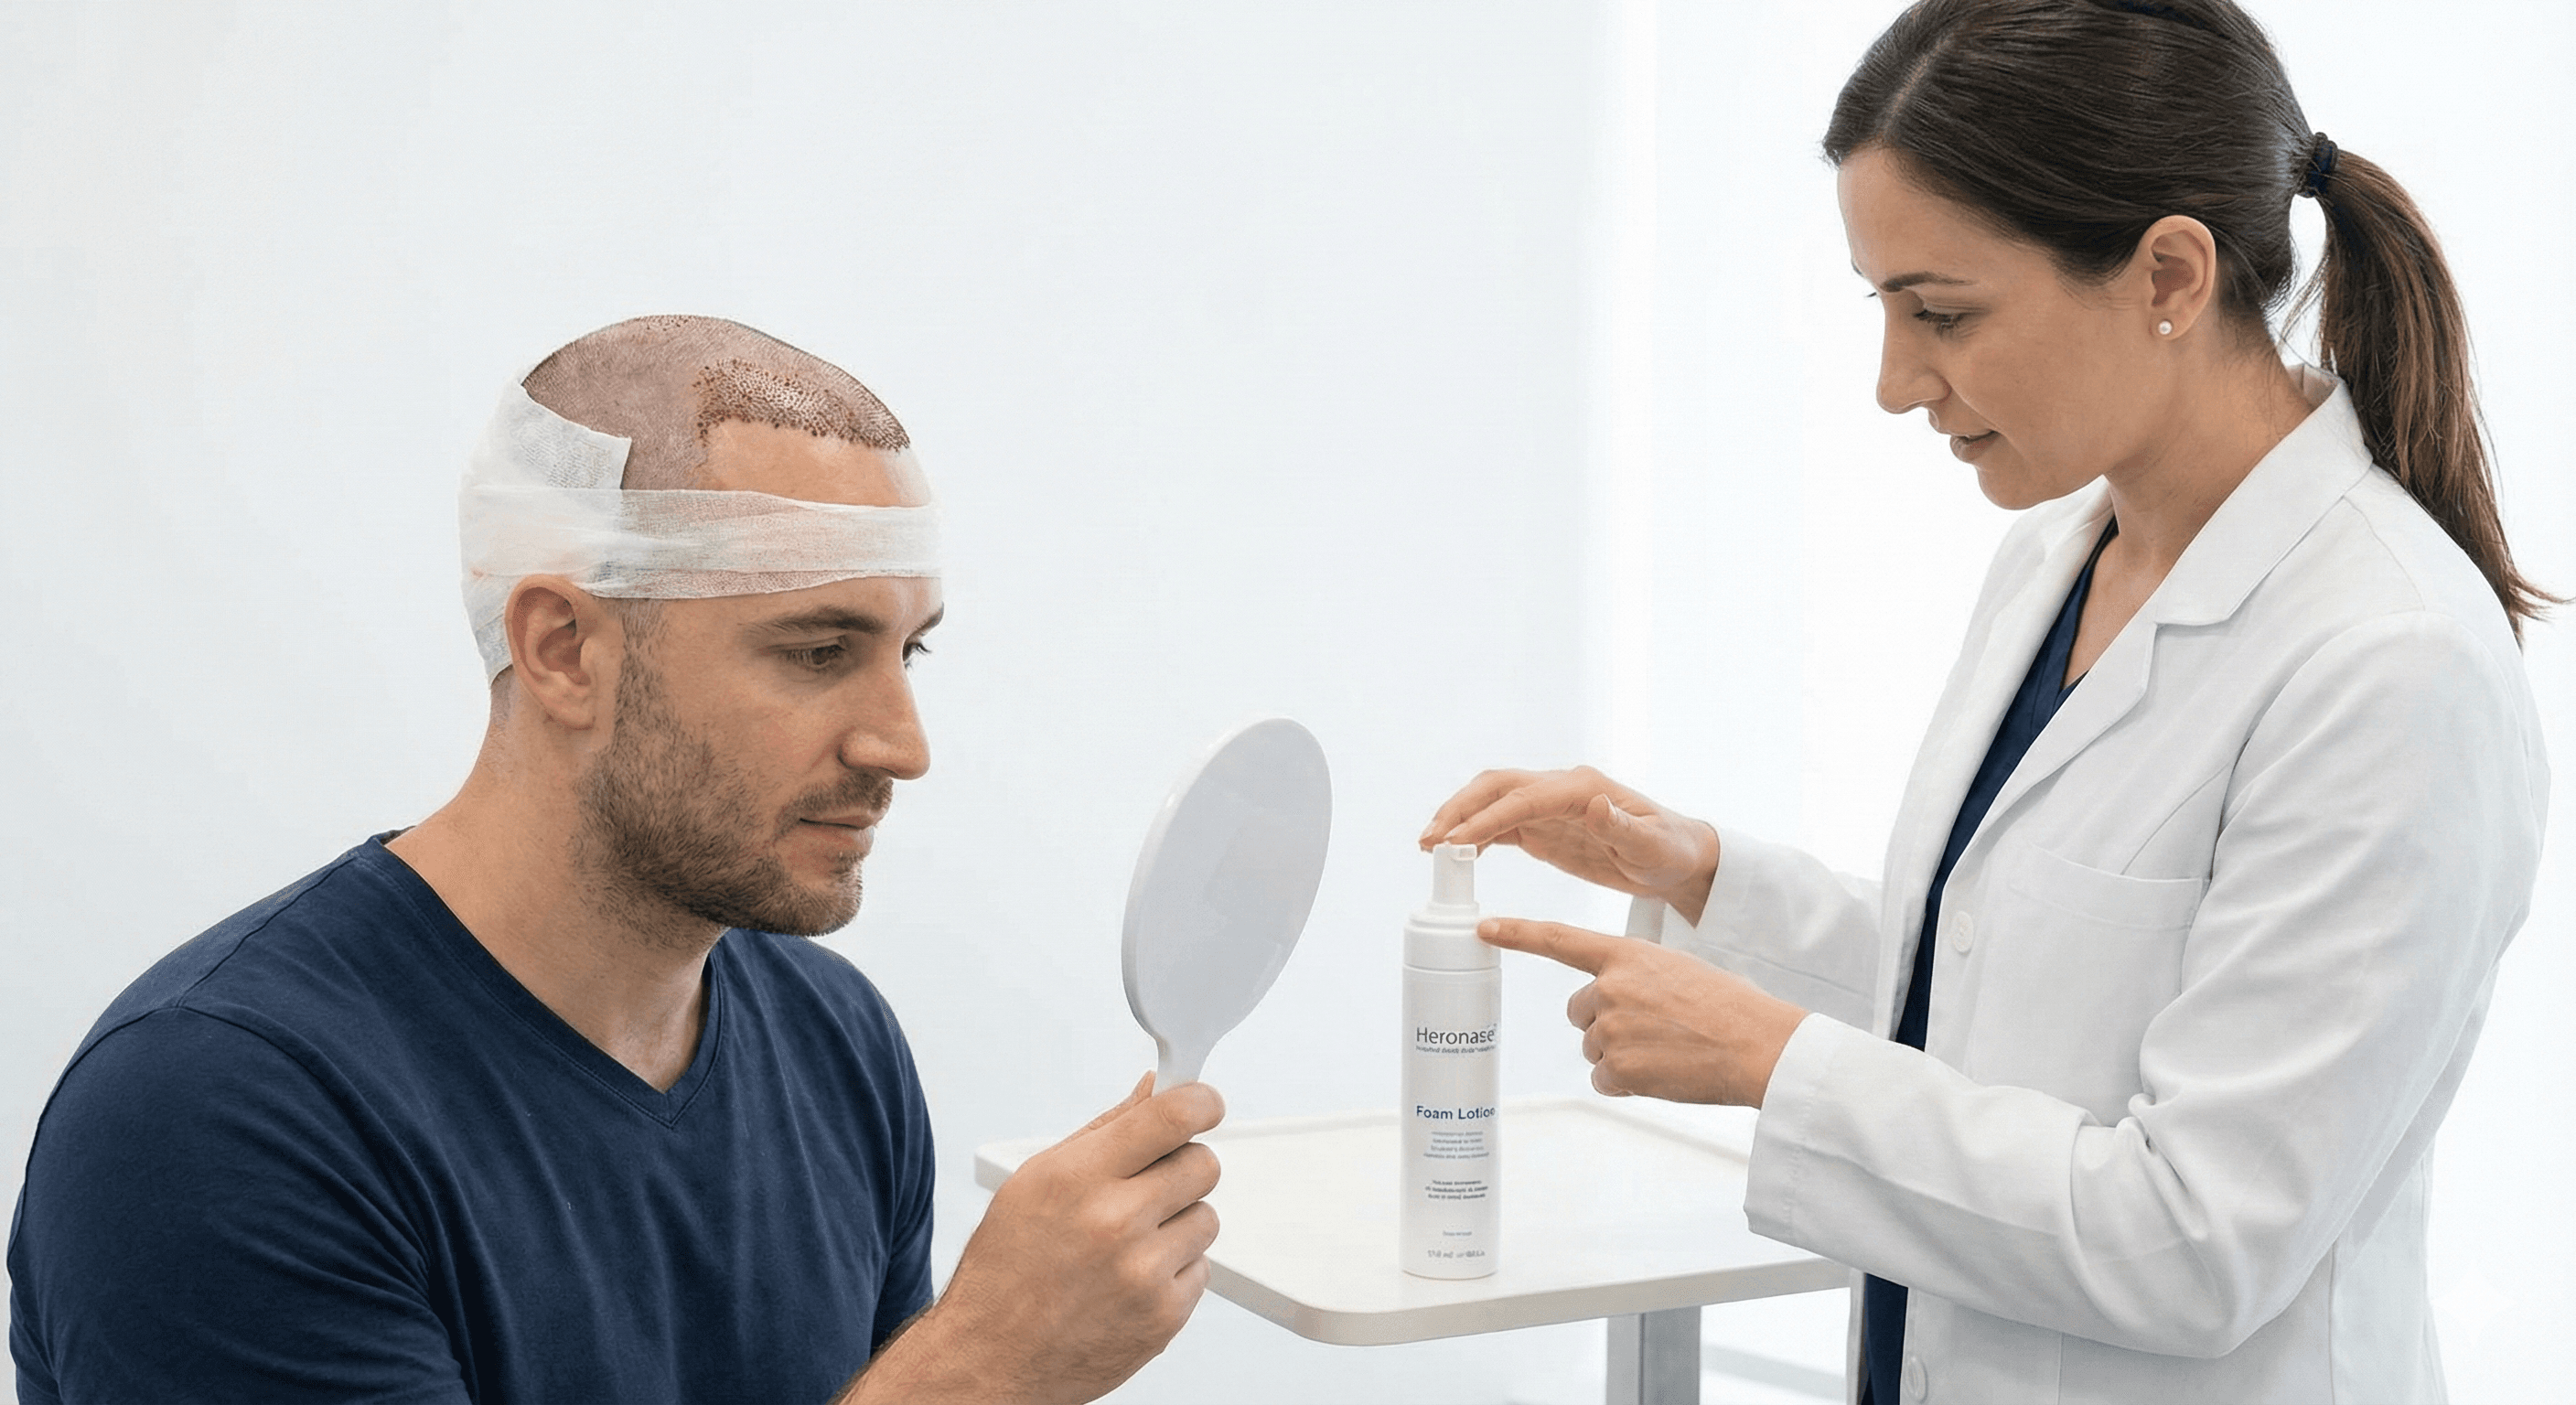
Aftercare matters as much as the operation itself. How well your grafts take, how quickly you heal and how natural the final result looks are shaped in large part by the care you give the area in the weeks that follow.
In this article we go through the recovery process stage by stage:
- The first 24 hours
- The first week
- The first month
- Months 1–3, 3–6 and 6–12
- The products to use, and the things to watch out for
Why Aftercare Matters So Much
Good aftercare:
- Improves graft survival
- Speeds up healing
- Reduces the risk of infection
- Helps limit swelling, redness and marking
- Leads to a more natural, more even result in the long run
The First 24 Hours: The Most Delicate Period
This is the window in which grafts have just been placed and are at their most vulnerable.
What to Do ✅
- Sleep with your head elevated: resting at roughly a 45° angle, with two pillows or a travel pillow, helps reduce swelling.
- Drink plenty of water: it supports circulation and recovery.
- You can take pain relief as recommended by your doctor.
- A cold compress can be applied to the forehead (never to the recipient area itself), following your doctor's instructions.
What to Avoid ❌
- Do not touch the recipient area: avoid scratching, rubbing or any contact at all.
- Do not wash the recipient area: the first wash must be done according to your clinic's instructions.
- Do not exercise strenuously: avoid anything that raises your heart rate and blood pressure.
- Avoid hot environments: saunas, hammams and very hot showers.
The First Week: Crusting and the First Wash
Days 1 to 3
- Do not wash your head (unless your clinic has given you a different protocol).
- There must be no contact, friction or scratching in the recipient or donor areas.
- If your doctor has advised it, you can continue applying a cold compress to the forehead.
- If recommended, special lotions or sprays can be applied gently to the recipient area (dabbed, never rubbed).
Days 4 to 7
The first wash usually begins in this period.
- Wash very gently with the special shampoo you were given:
- Apply the lotion first to soften the crusts
- Rinse with low-pressure water
- Lather the shampoo in your palm and apply it without pressing
- Let the crusts fall away on their own
- Never scrape at the crusts with your nails or scrub the area
- Continue to be careful how you sleep — the recipient area should not rub against the pillow.
The First Month: Protection and Routine Care
What to Do ✅
- Use the special shampoo and lotions your doctor recommended, exactly as described.
- Continue washing with light, gentle movements, without pressing on the scalp.
- Attend your check-ups according to the schedule you were given.
What to Avoid ❌
- Avoid strenuous exercise: weightlifting, running and intensive sport.
- Do not spend long periods in direct sunlight: use a hat if necessary (with your doctor's approval).
- Stay out of the sea and swimming pools: they carry a risk of infection and irritation.
- Avoid saunas, hammams and steam rooms.
- Cut down on or stop smoking and alcohol: both affect circulation and can slow healing.
Months 1 to 3: Shock Loss and the First New Hairs
What to Expect
- Some or all of the transplanted hairs may shed during this period. This is known as "shock loss" and it is a normal part of the process.
- The follicles remain beneath the skin; this shedding does not mean the transplant has failed.
- From around the second or third month, fine new hairs start to appear.
Care Recommendations
- Continue using a gentle shampoo as advised by your clinic.
- If your doctor considers it appropriate, a light scalp massage can be introduced.
- Keep attending your check-ups so progress can be assessed together.
Months 3 to 6: The Hair Becomes Visible
What to Expect
- The new hair becomes clearer and more defined.
- You start getting a real sense of the hairline and the density.
- Some areas may fill in faster than others; this is also normal.
Care Recommendations
- Most patients can switch back to a normal shampoo during this period (with their doctor's approval).
- Light styling products can be used, but choose ones that will not irritate the scalp.
- If you use a hairdryer, take care not to use very hot air.
Months 6 to 12: The Result Takes Shape
What to Expect
- Most of the hair has come through by this stage.
- The hair grows thicker and denser.
- The natural appearance and the hairline settle during this period.
- In most patients, the final result is seen at around the 12-month mark.
Care Recommendations
- Daily care can now follow a normal hair care routine.
- Always ask your doctor before using styling products, dyes or chemical treatments, and do not rush into them.
- If needed, you can discuss additional treatments (such as mesotherapy) with your doctor.
Care Products and Supplements
Shampoo
- First month: the gentle, specialist shampoo recommended by your clinic
- Months 3 to 6: mild, sulphate-free shampoos are a good option
- After month 6: you can move back to a normal shampoo suited to your hair and scalp type (on your doctor's advice)
Lotions and Sprays
- The specialist care lotions recommended by your clinic should be used regularly in the early period.
- Moisturising products can help reduce dryness of the scalp.
- If you plan to use any growth-support product, check with a specialist first.
Vitamins and Supplements
To support general hair health, the following supplements may be recommended for suitable patients (under medical supervision):
- Biotin
- Zinc
- Iron (where there is a deficiency)
- Vitamin D (where there is a deficiency)
- General-purpose hair vitamin complexes
The Essentials at a Glance
What to Avoid ❌
- Scratching, rubbing or picking at the recipient area
- Forcing the crusts off
- Strenuous exercise in the first weeks
- Spending long periods unprotected in the sun
- The sea, swimming pools, saunas and hammams in the early period
- Heavy smoking and drinking
What to Do ✅
- Follow all the instructions your doctor gives you
- Attend every follow-up appointment
- Use the shampoo and lotions exactly as prescribed
- Eat well and drink plenty of water
- Be patient, knowing that this process unfolds over months
Follow-Up at Nirvana Hair
At Nirvana Hair we follow the post-operative process step by step for every patient:
- Day 1 check-up – initial assessment, dressings and inspection of the recipient area
- Week 1 check-up – managing the first wash and the crusting phase
- Month 1 check-up – guidance on the shock loss phase
- Month 3 check-up – assessment of the first new hairs
- Month 6 check-up – analysis of density and hair quality
- Month 12 check-up – assessment of the final result and any further recommendations
At every check-up:
- The healing process is examined in detail
- Progress is documented with photographs
- Your care plan is updated as needed
In Summary
Aftercare is a continuation of the operation. With the right care, patience and regular follow-up, you can expect:
- Better graft survival
- A more even, more natural appearance
- Greater long-term satisfaction
At Nirvana Hair we create a personalised aftercare plan for every patient, and stay with them at every stage of the process. Get in touch for detailed information and a free initial consultation.